
August 2011 - Still a few jobs to finish off but have started the move from the Works to the WLR.

Temporary track in place to move the loco out of the Works. Another panel was laid towards the camera, and once the loco was on this the curved track was removed and straight rail laid down through the passageway.
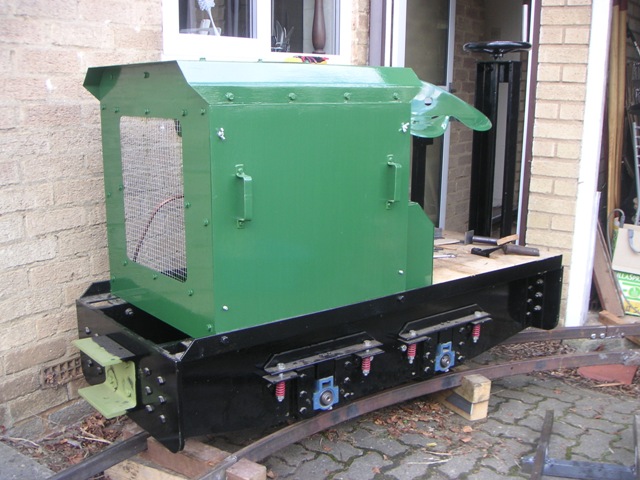
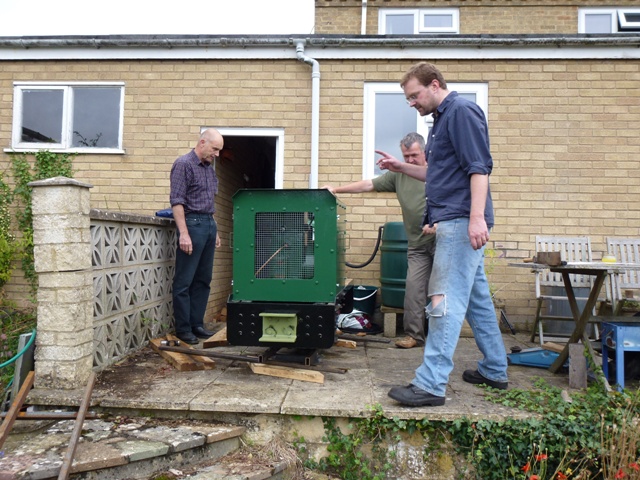
The loco on its way out of the Works. Still a few painting jobs to be done.
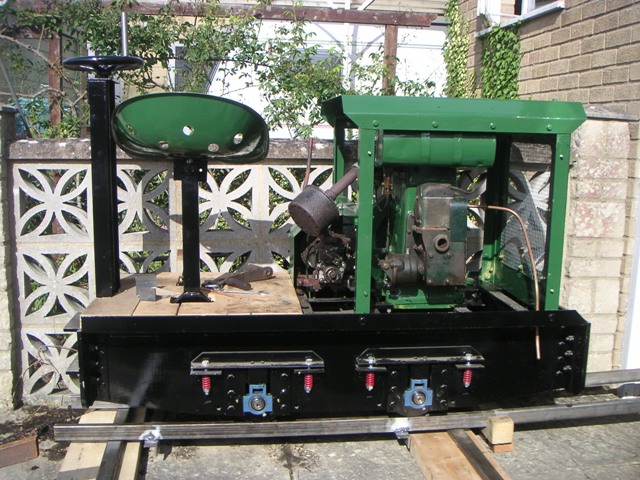
The loco stabled on the patio. The side panels were removed to reduce the width of the loco, necessary as the loco only just made it through the two doorways.
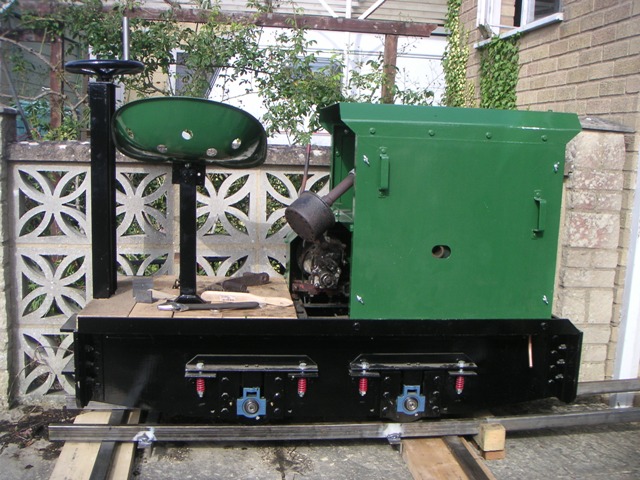
With the side panels fitted. The track is welded up with two tie bars, and rests on two transverse pieces of RHS to allow the loco to be traversed by a couple of feet to line up with the WLR.
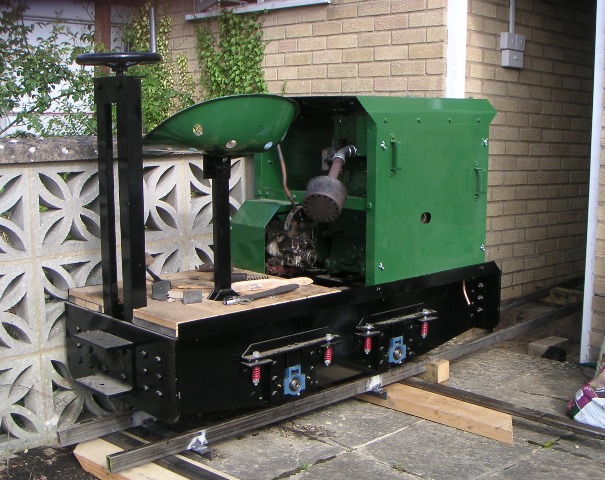
Another view of the loco stabled on the patio.
August 2011 - Day 2
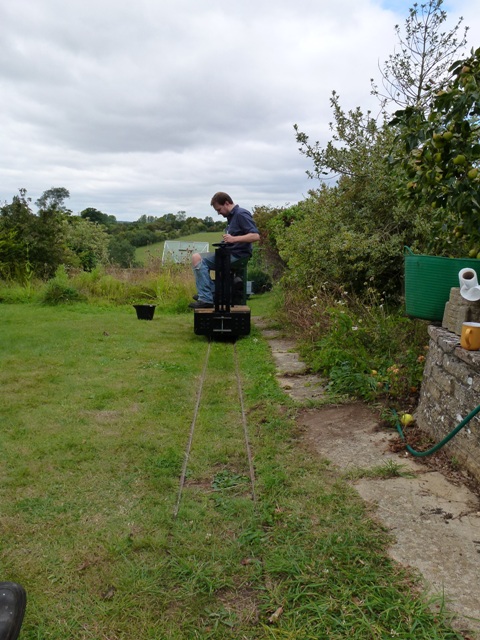
Job done - the loco is now on the WLR!
The loco was turned through 180 degrees by sliding it round on the temporary track, with the two tranverse pieces of RHS and supporting timbers being adjusted as we went.
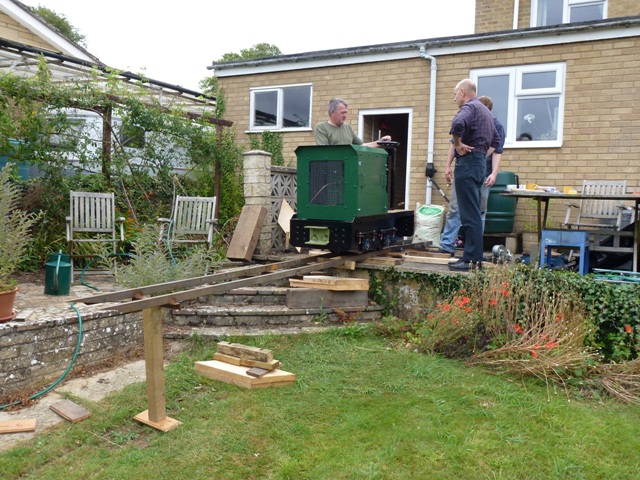
The ramp was set-up horizontally, lined up with the temporary track on which the loco was sat. The loco was then rolled onto the ramp (with the weight being taken primarily by a timber placed at the 'top' end of the ramp. The two sets of timber supports (on the steps and on the grass) are positioned to support the ramp once it is in lowered position. The vertical piece of 3x3 at the 'bottom' of the ramp is simply holding the ramp horizontal - it doesn't carry the weight of the loco.
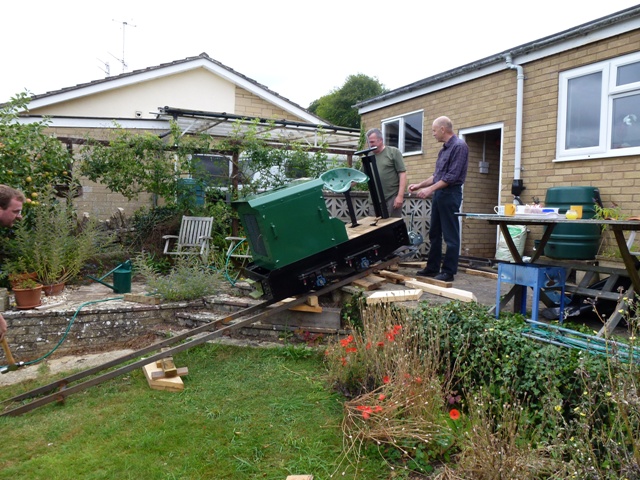
Once the loco was balanced on the timber at the top of the ramp, the temporary track on the patio was removed and a winch fitted to the top of the ramp. With the loco attached to the winch, the 'bottom' of the ramp was then lowered down to the WLR. This was easy as pretty much all of the weight of the loco was resting on the timber at the top. The winch is just visible between the two characters stood on the patio.
With the ramp resting on the timber supports and lined up with the rails of the WLR at the bottom end, the loco was winched down the ramp. A little fettling was required at the bottom end due to the front buffer beam fowling the lawn, but all was quickly resolved and the loco was on the WLR for the first time!
Unfortunately, the rail was pretty wet and slippy in places, and the loco struggled for adhesion. This was without the wagon, and on the gentler section of line, so this didn't bode well. Also, the Lister failed periodically and needed the plug cleaning each time before it would restart.
However, some sand found nearby proved that the loco could get up hill, and the temporary staff that I'd engaged for the day (possibly desperate to draw activities to a close and get off home to their lunch!) offered to go and purloin a decent quantity of builder's sand and also a decent spark plug. Both of these were successful, the Lister running reliably on the new (old stock) plug, and the sand allowing more adventurous trials to be undertaken. Loco plus wagon on the top section were succesful, followed by light engine and then loco plus wagon on the lower, more steeply graded section of the WLR. All successful.
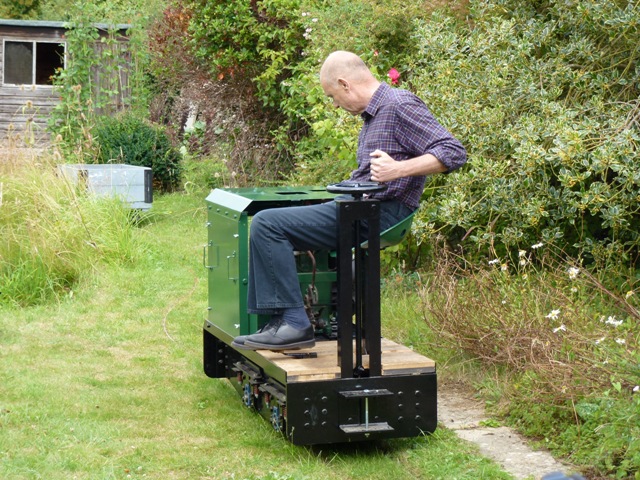
The loco undergoing early trials light engine.
Light engine on the WLR.
Videos showing the move from the patio down to the WLR, and a test run on the WLR, are available on YouTube:
