
The frames and buffer beams were laser cut for me by Guttridge Laserfab.
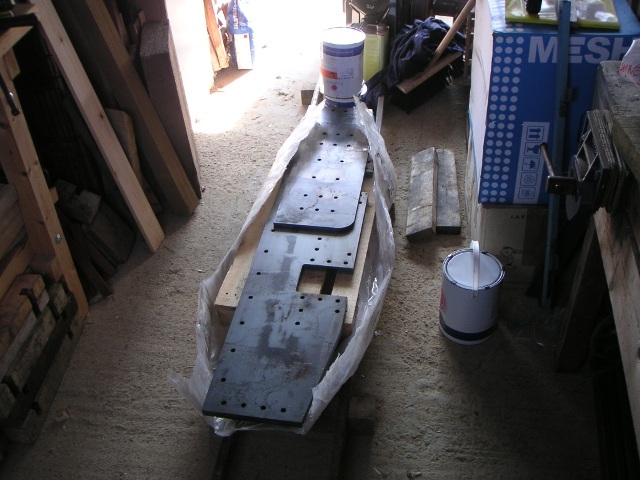
The frames and buffer beams as delivered - still on their pallet.
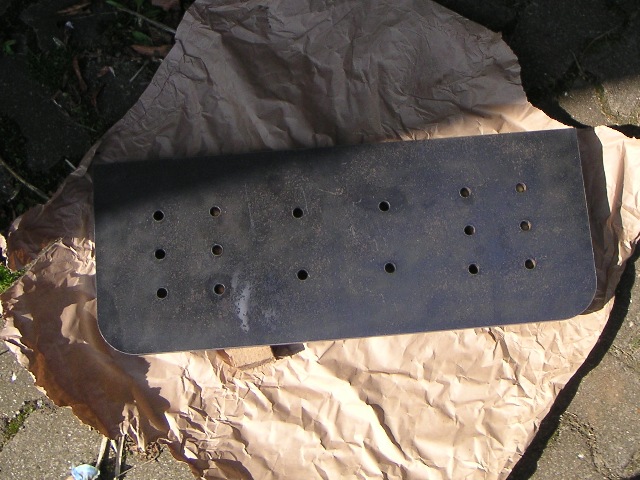
One of the buffer beams prior to degreasing, wire brushing and painting.

Frames and buffer beams assembled, and with a first coat of primer from TR Williamsons.
It turned out that neither of the frames was straight, and hence the distance between the two frames was not as designed. The angle bolted to the top edges of each frame helped, but one of the frames was still not straight - the angle was bending to match the curved frame.
The frame was removed from the buffer beams, and attempts made to straighten the frame (first by using sash clamps, and then by jumping up and down on the thing) but to no avail. In hindsight I should have incorporated some stretchers as part of the frames. The final design will incorporate a number of brackets spanning the frames which will act as stretchers, and so I decided to use a temparary bracket to hold the frames at the required spacing until the final brackets are ready to be added.
Both frames were bolted to one buffer beam at the correct spacing, and then the stretcher added, again making sure the frames were at the correct spacing. This resulted in an excessive gap between the frames at the other buffer beam, and so a sash clamp was used to bring the frames in to the required spacing whilst they were bolted to the buffer beam.
I'm concious that the frame would spring back to it's bent state given half a chance - whether this will cause problems later during the build time will tell.
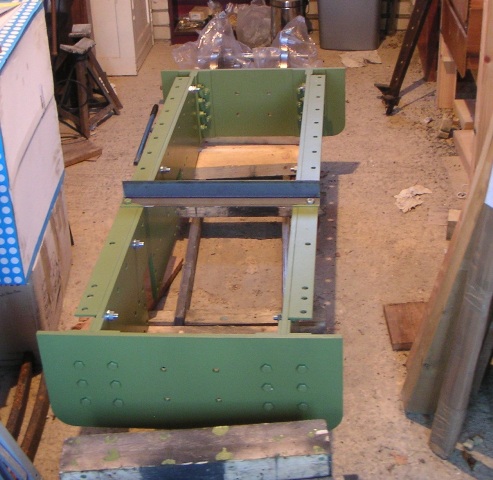
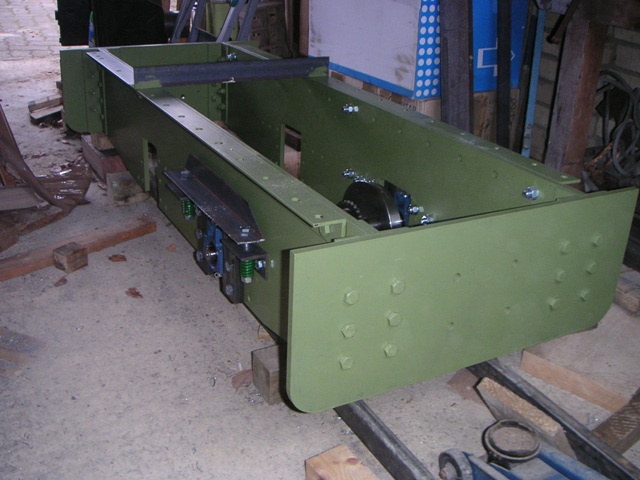
Frames with temporary bracket as stretcher. Beyond the frames can be seen the wheelsets - these were purchased from LA Services (Engineer's Emporium).
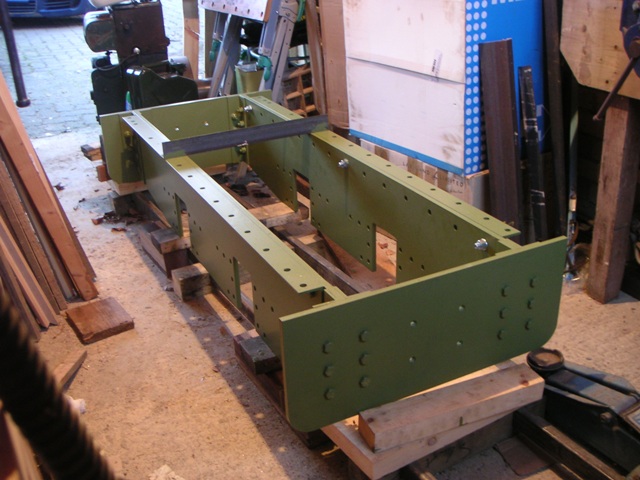
Another view of the frames - beyond them can be seen the Lister D
31st January 2009 - First wheelset fitted to the frames. The horn blocks are from 60mm x 10mm steel, with 40mm x 10mm spacers.
First wheelset fitted to frames
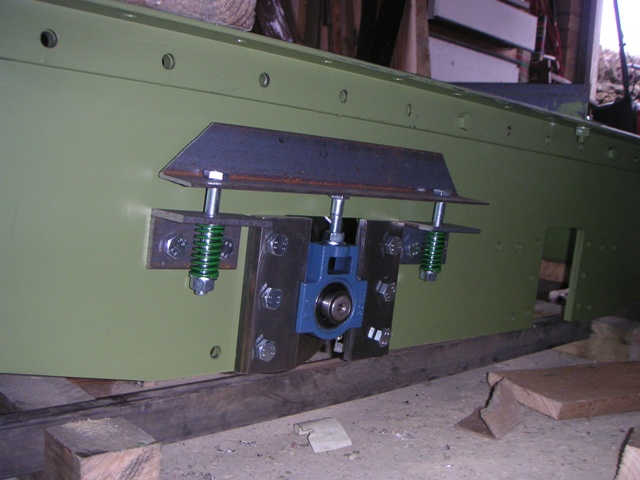
The beam, and the bolt between the beam and the bearing, are temporary
End of March - All the horn blocks fitted and primed. The grease ways are formed from a tapped 6mm hole through the horn block, blanked off on the inside by the spacer, and met by a 3mm hole leading to the bearing edge. Primer on the wheelsets, and the spring hangers fitted and primed.
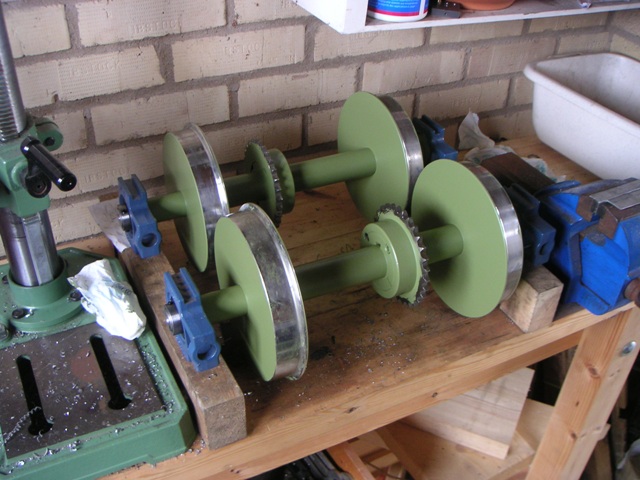
Primed Wheelsets
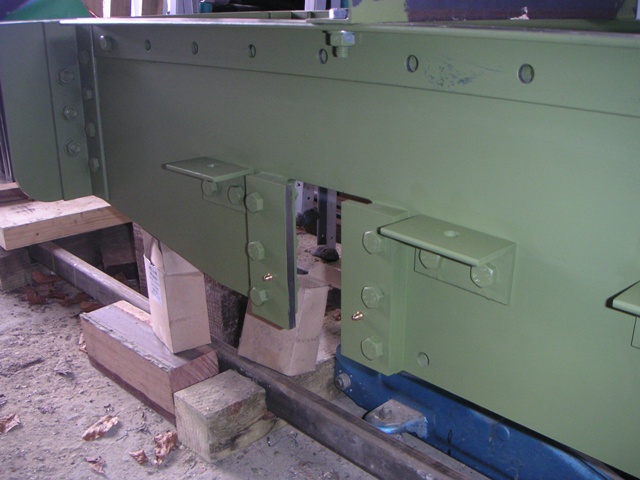
Spring hangers bolted to frames and primed
End of April - On its wheels and rolled out of the workshop for the first time! I've painted all the bits that I won't be able to get to once it's on its wheels, but left the rest - partly because I'm going to have to fit various bits (like the brake hangers) and also because it'll be a lot easier to paint in the tight confines of the workshop now I can move it around.
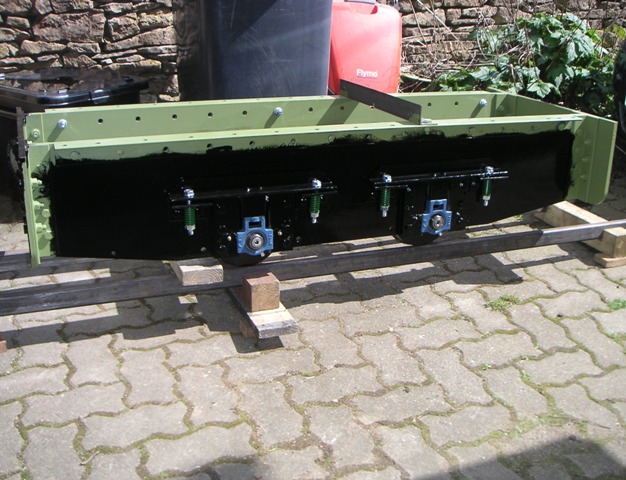
On its wheels and rolled out of the workshop for the first time.
The spring hangers are made from 40 x 40 x 6 angle, bolted to a 60mm length of 60 x 20 flat.
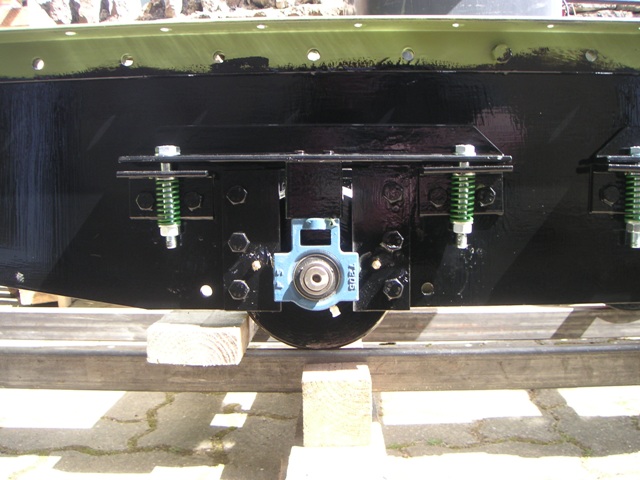
Close up of suspension.
